Angel Eye Mod (93-97 Camaros)
#1
Angel Eye Mod (93-97 Camaros)
What you'll need:
-2 sets of angel eye driving lights http://www.brandsport.com/pilt-nv538w.html
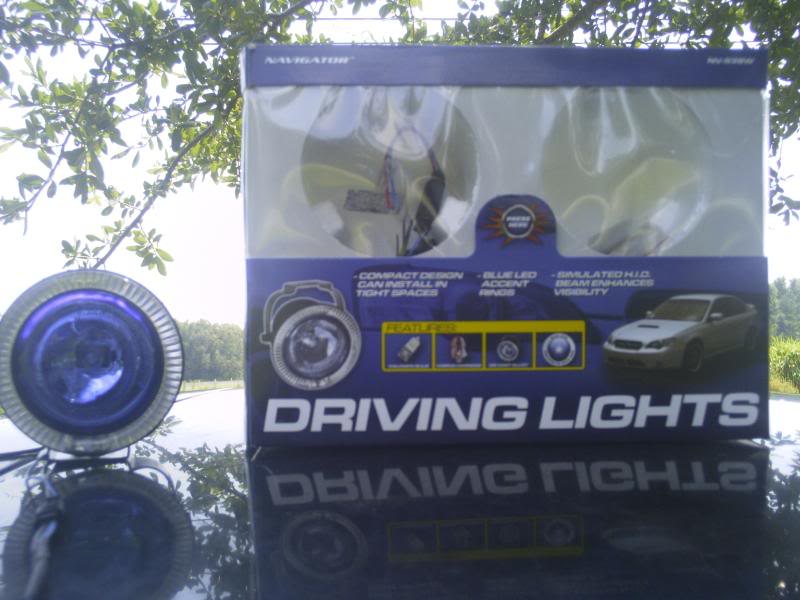
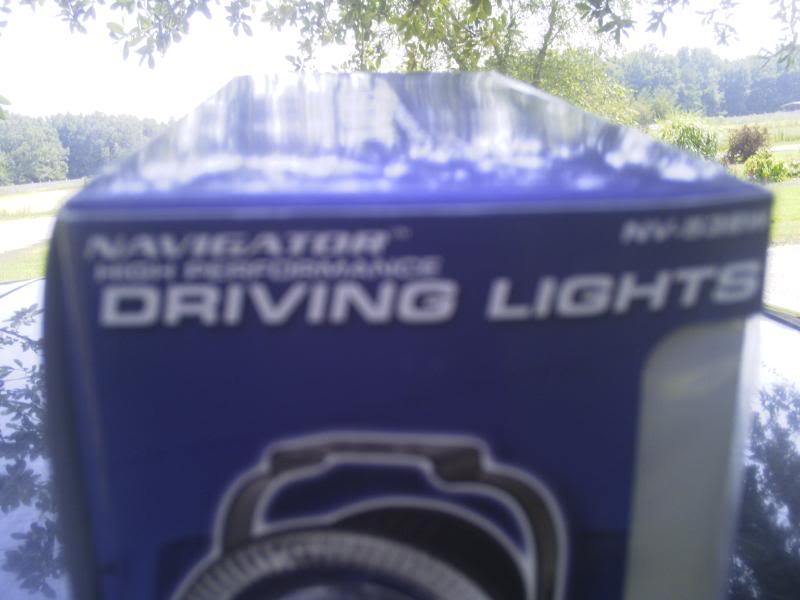
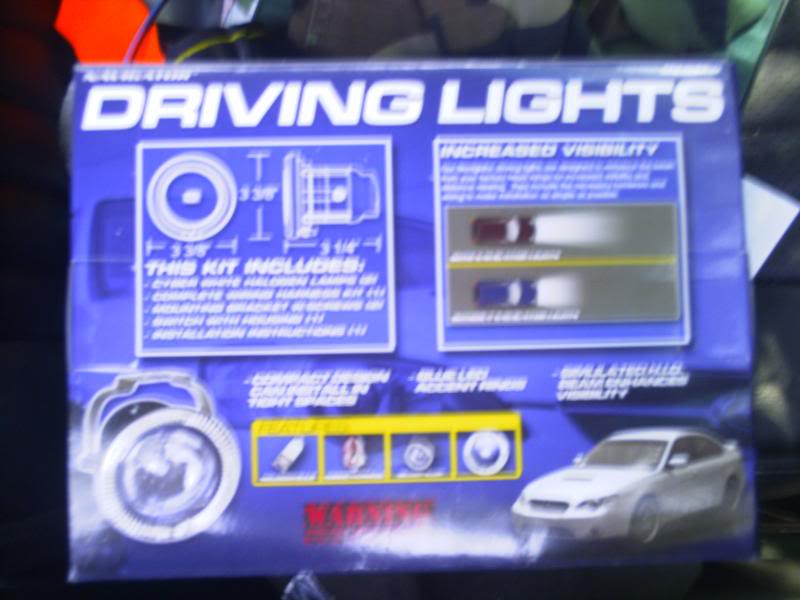
-screwdriver, star key tool (for removing the old lights), needle nose pliers, power drill (to drill mounting holes), wire stripper (I used my pocket knife), electrical tape or shrink wrap, super glue
1. Removing the old lights
-Disconnect the negative battery terminal on your battery so you don't mess anything up on accident.
-Take out old headlights and brights. To do this, remove the spring on the bottom and unscrew the top adjusting screw. The old headlight fixtures will come out in one piece if you do it this way.
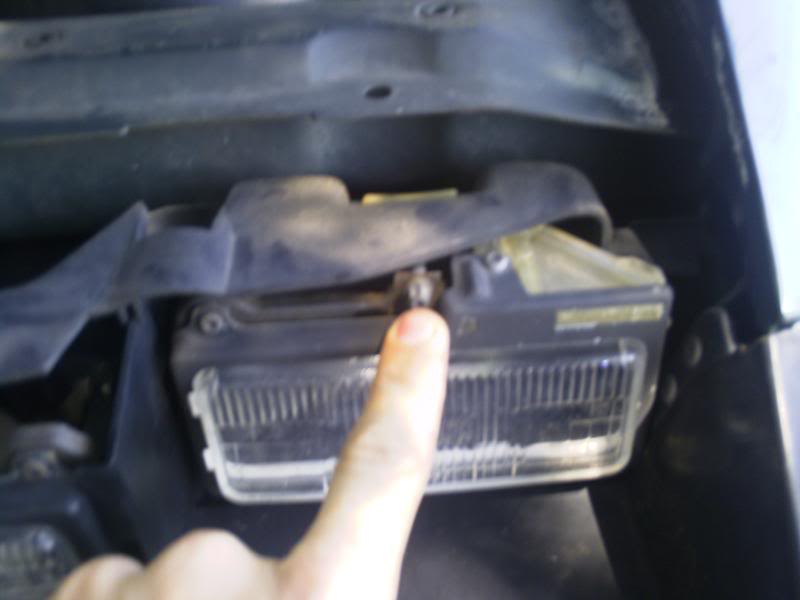
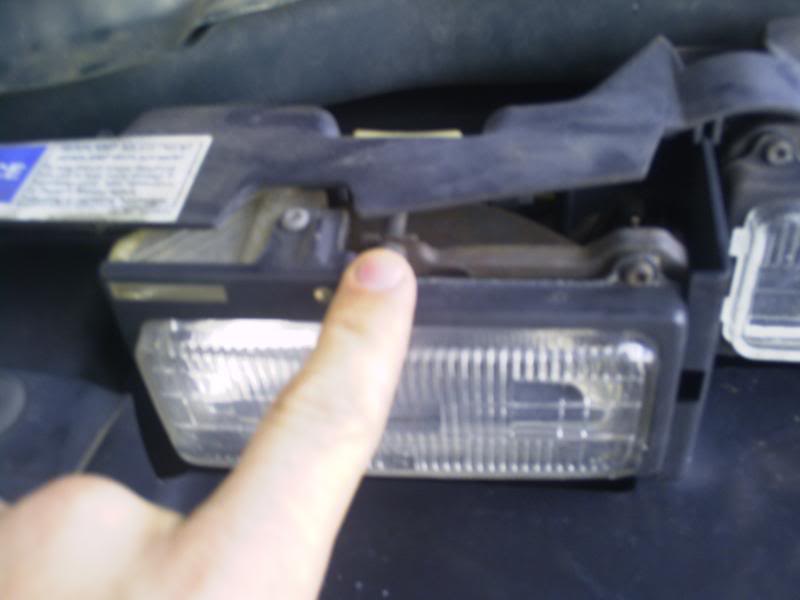
Spring location
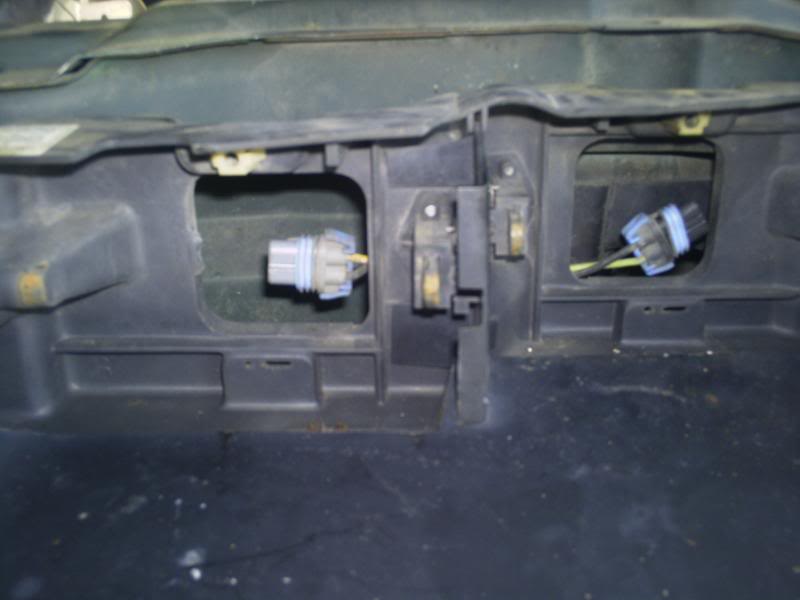
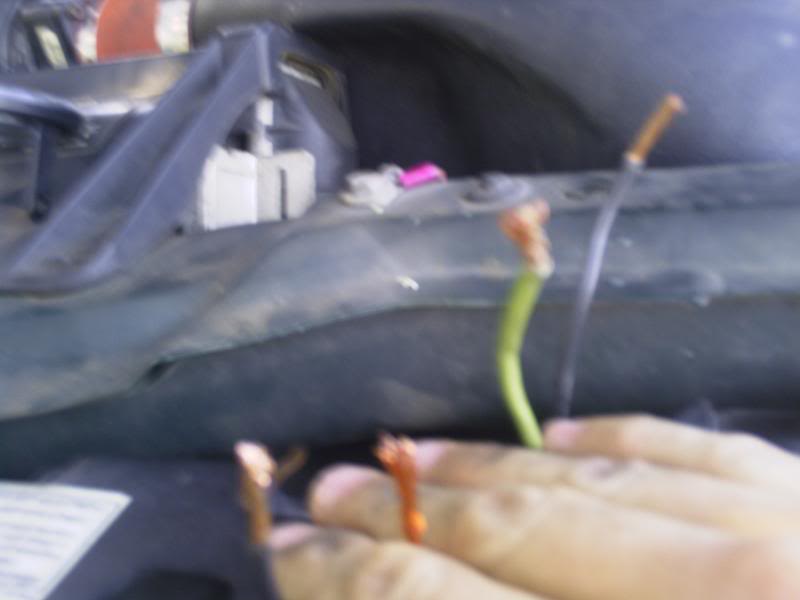
-CUT the wires to the lights with wire cutters, as the harnesses will not be used.
Mounting the brackets
-Once all the old lights have been removed, it's time to mount the brackets for the new lights
-Line up the bracket, and the screw in the proper hole (inside lights = front hole, outside lights = middle hole)
-On the inner lights, use the farthest forward mounting hole on the bracket and mount the screw in as far back as you can and still be structurally sound. (I had to remove the plastic plug that the stock headlight adjustment screw mounted to in order to make enough room for the headlight itself) On the outer lights, use the middle hole to mount the bracket with still going back a good bit.
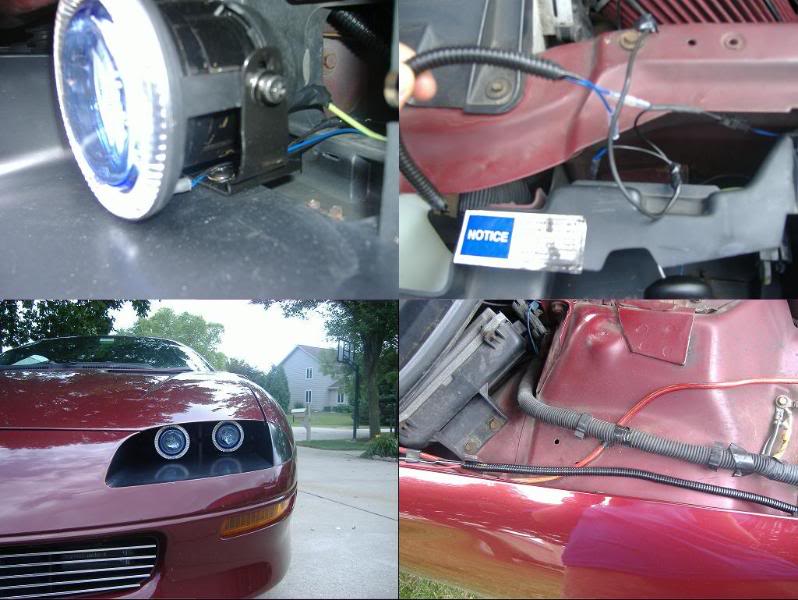
-Screw in each screw with the bracket in place. We are only using one screw for each bracket for adjustment purposes. If you want, you can use the sticky pads IN ADDITION to the screws, but the pads themselves are not enough to hold the lights in position. Also, if you use the sticky pads, you will not be able to adjust the bracket side-to-side later when you set the placement of the lights. You will superglue them later.
3. Mounting the lights.
-Mount the lights as low as possible in the brackets. This is pretty self explanatory.
4. Wiring
-Splice the wires into the new headlight wires
-Ops check/fitment check
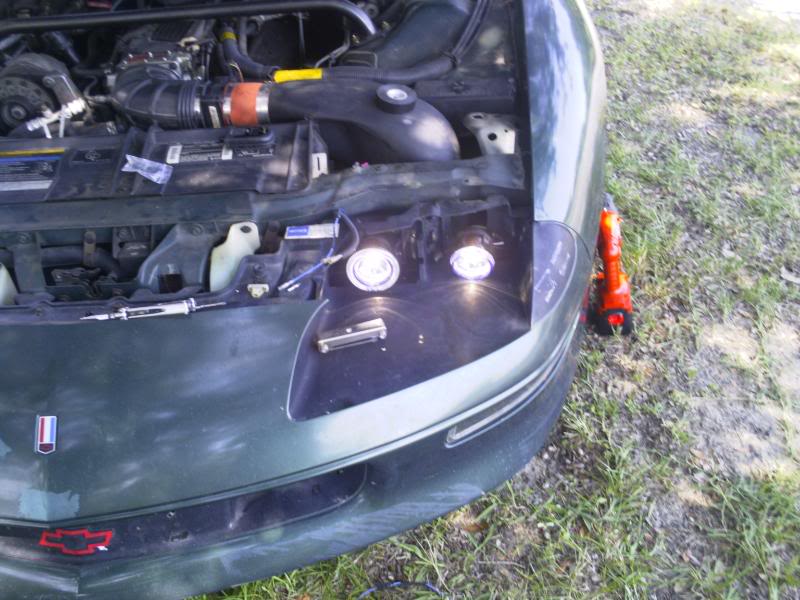
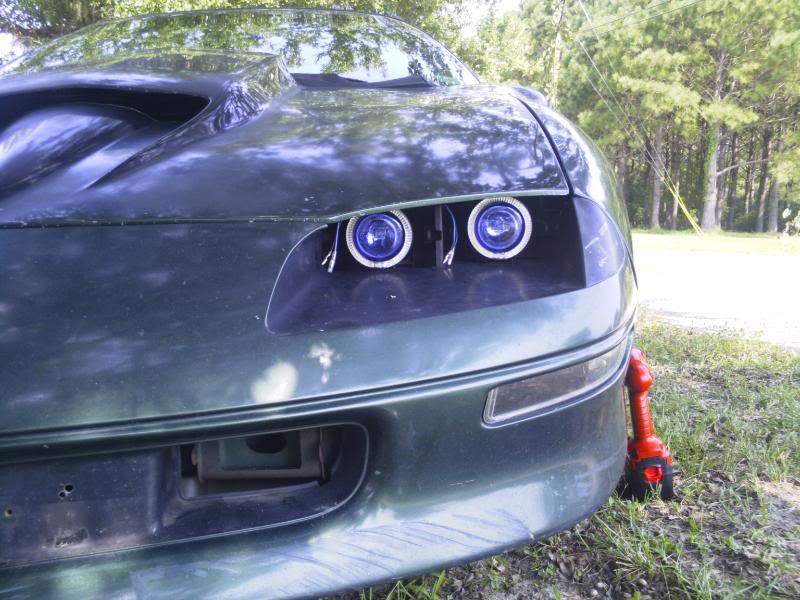
-halo wiring v1
Since im running without regular fog lights, I spliced into the factory foglight harness. Being that there are 2 halos per side and only 1 foglight wire, you need to splice them 2-into-1
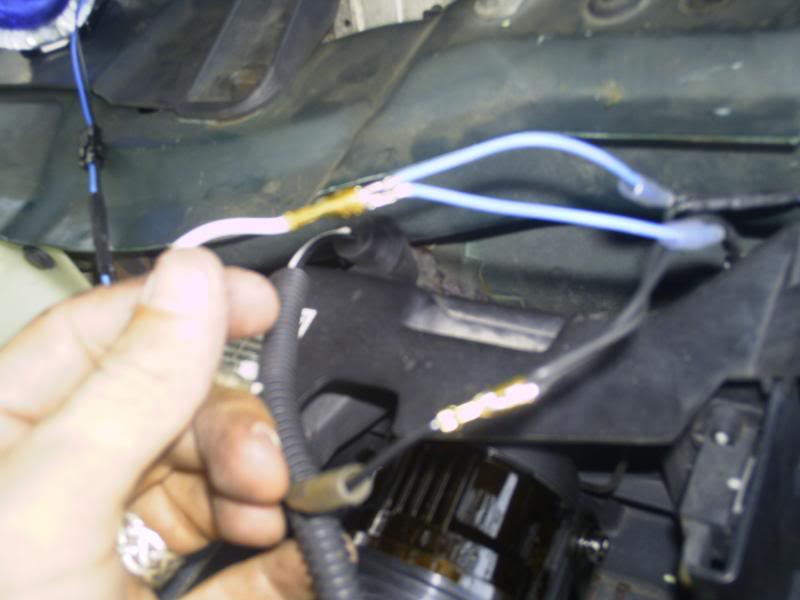
-halo wiring v2
You can run the halo’s off of the cigarette lighter if you so choose like in the pic below:
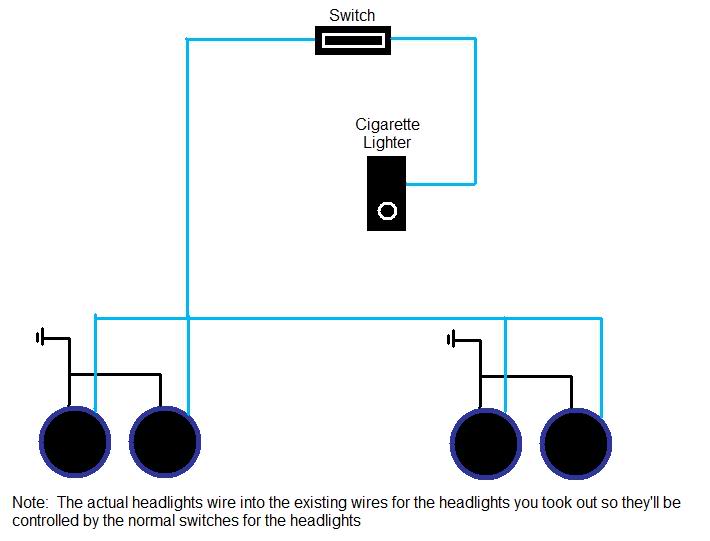
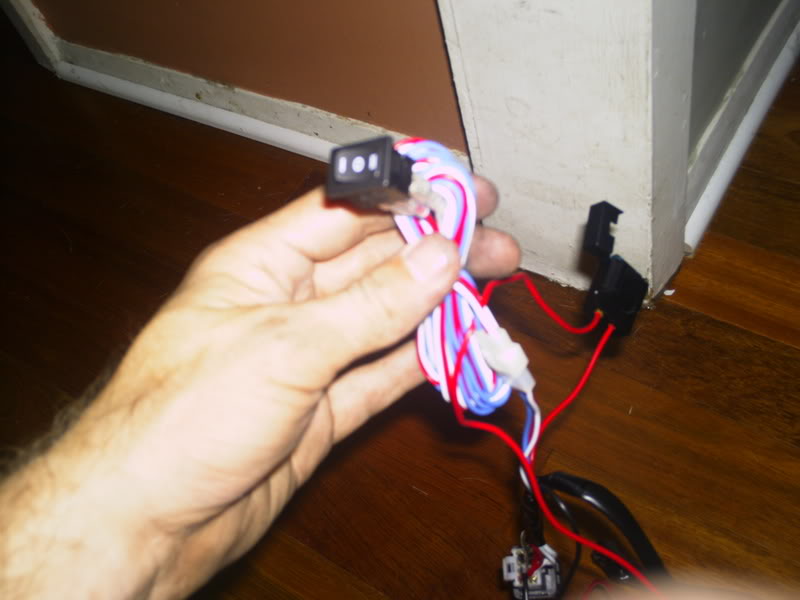
Also…. after doing some searching I found that Shbox.com has a writeup for accessory wiring for those who want to wire their halos inside the car which would allow you to run a manual switch in place of the ashtray or wherever else you decide to place it. This would require the use of the switch that came with the lights.
http://shbox.com/accy/Accessory.html - link to shbox’s wiring
switch that came with wiring:
5. Light adjustment
-The reason we only put one screw per bracket is to adjust the lights. So wait till night to do this step.
-The lights are very bright, so adjust the headlights so they point straight forward, but down about 20-30 degrees. This is so that you won’t blind any other traffic with your normal headlights, making it so that you won’t get pulled over.
-Adjust the brights so that they point straight forward and have no angle to them.
-Once the headlights are adjusted to your liking, put some super glue around the base of the brackets and between the light fixture and the brackets. This will make it so that they can't be bumped out of place.
Now you should be done. I will be adding more to this as I am working on a surround that goes around the lights and blocks behind it so you don’t see a mess of wires or anything… just the lights.
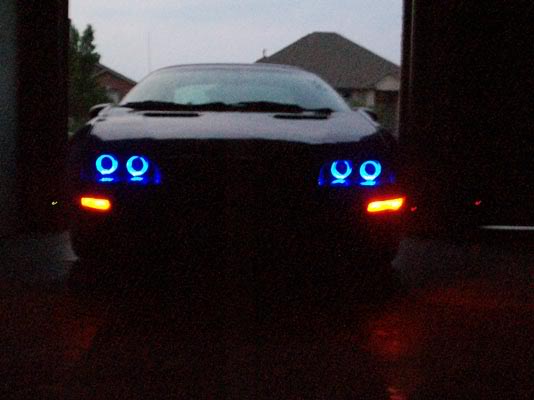
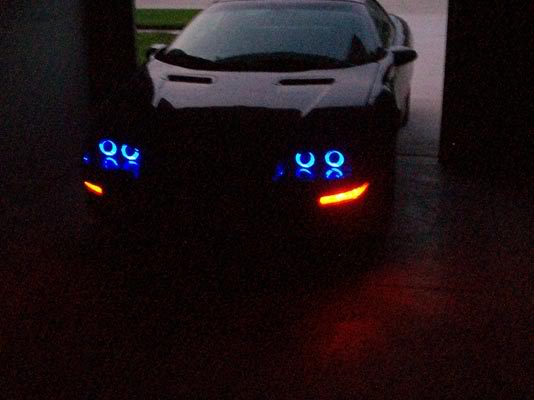
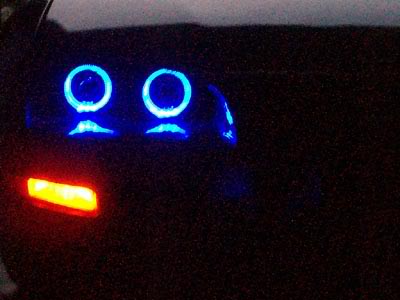
And heres some other pics for reference and final product:
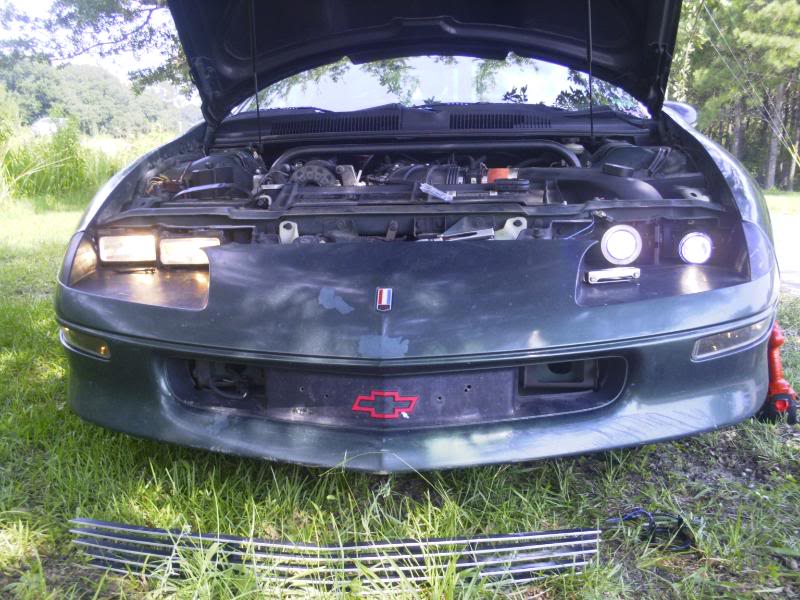
old
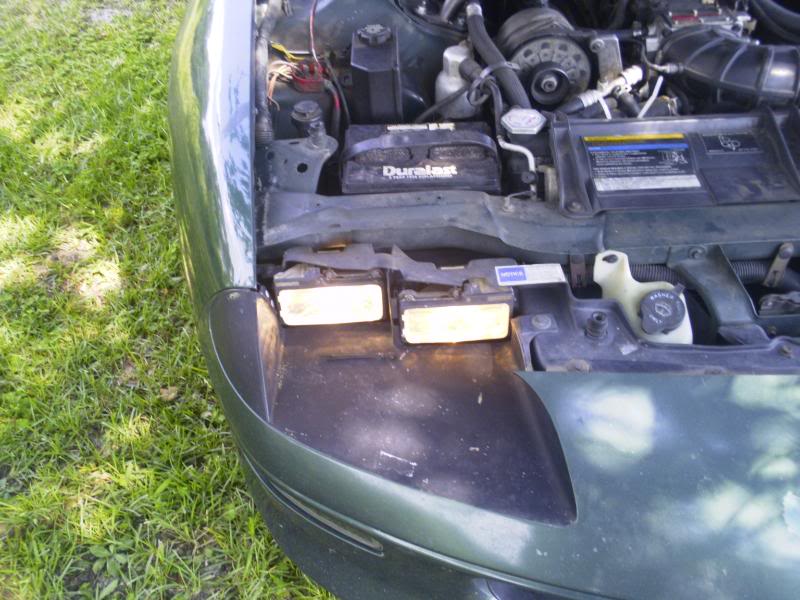
new
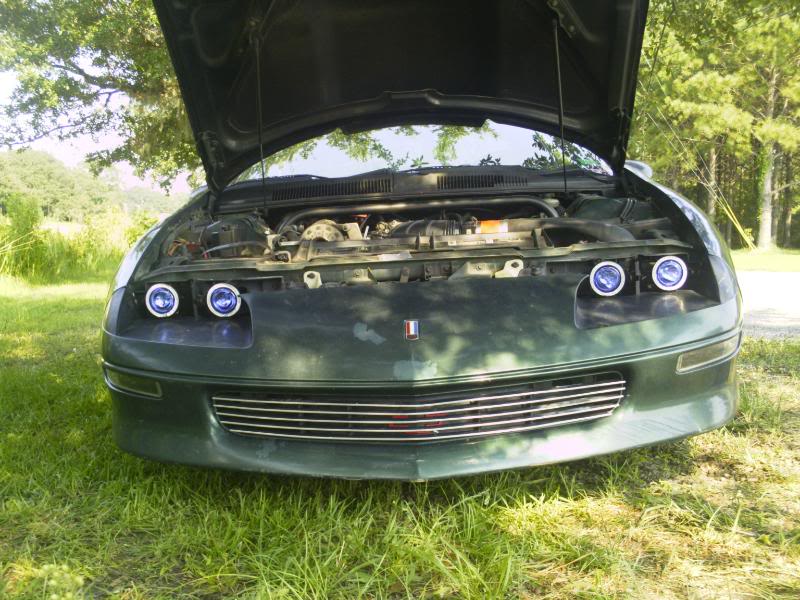
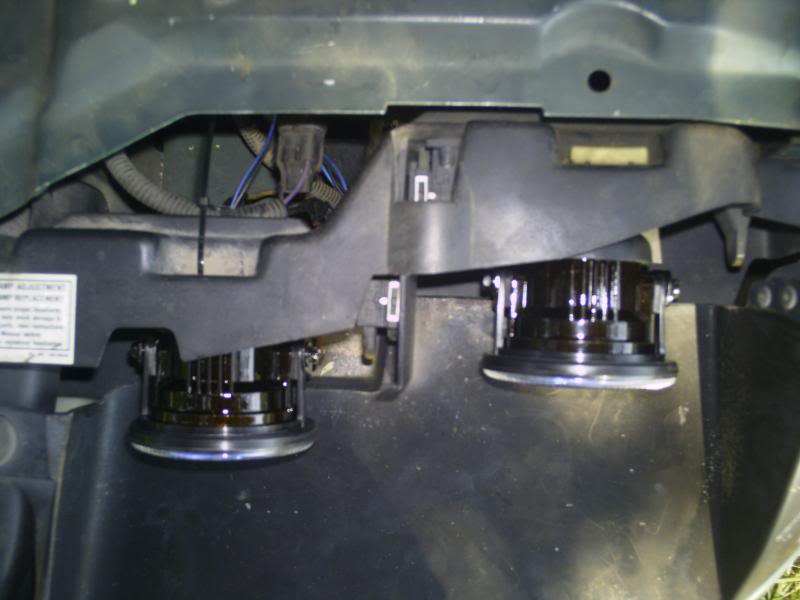
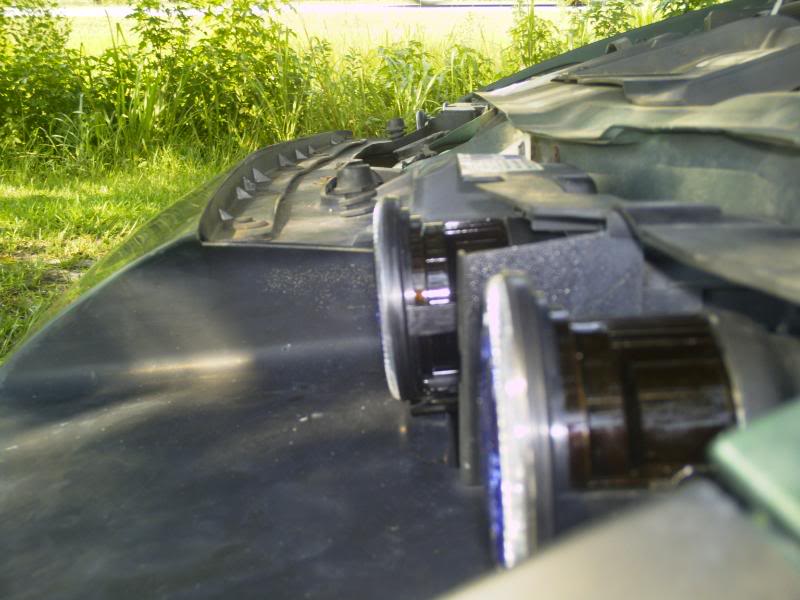
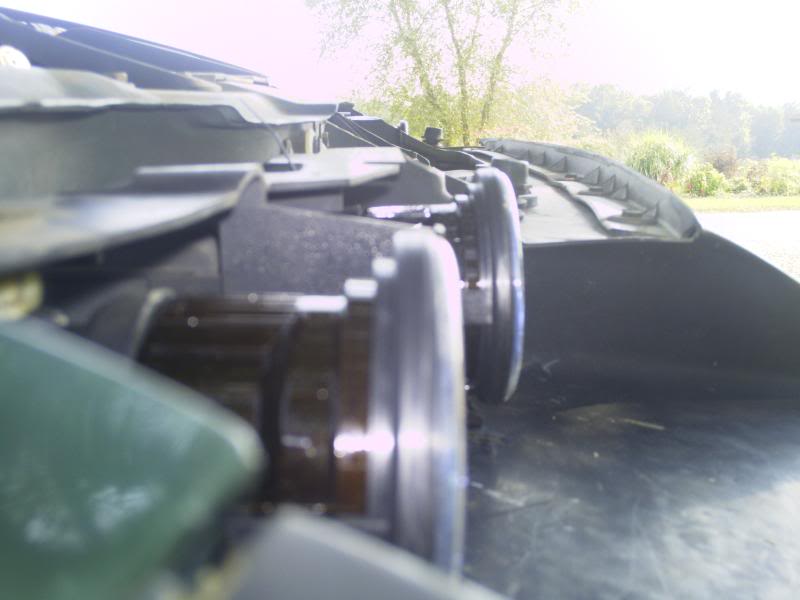
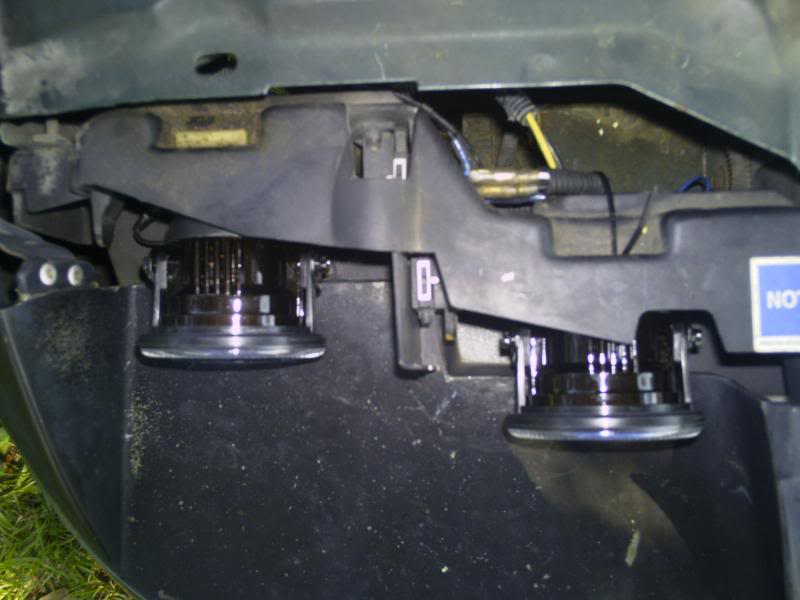
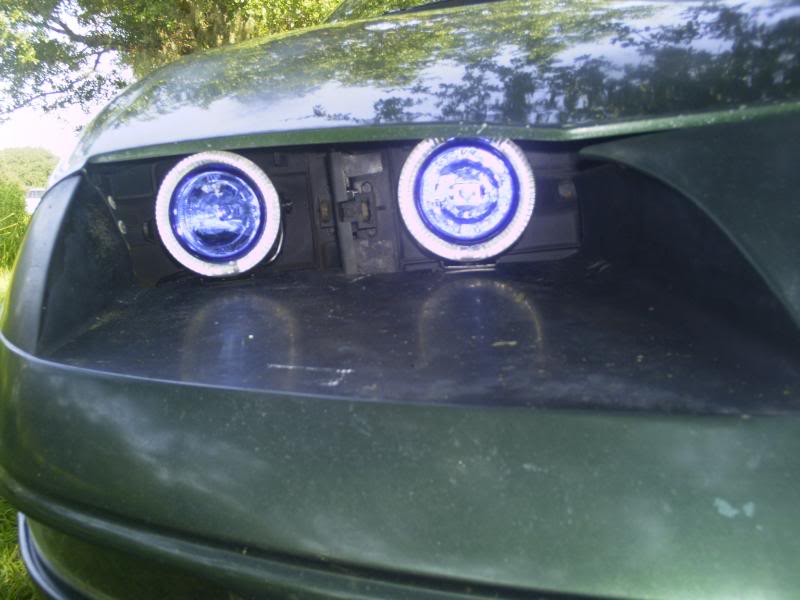
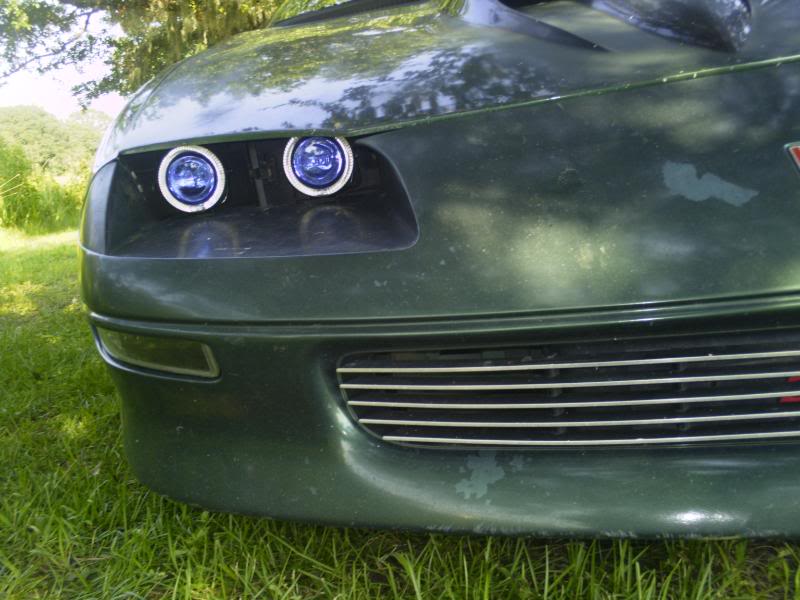
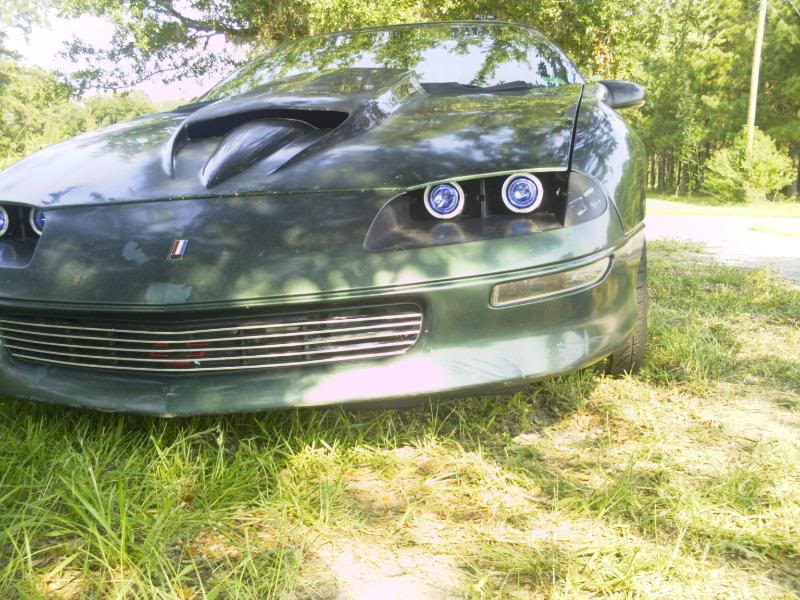
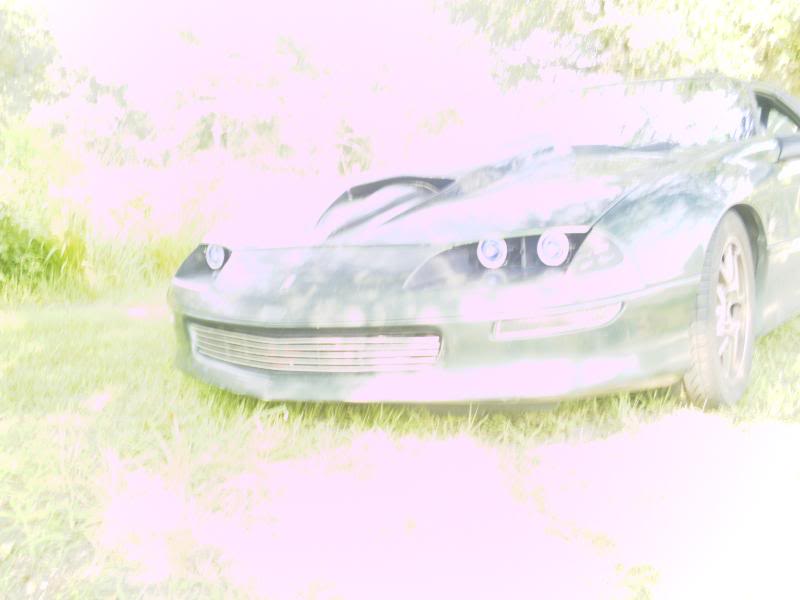
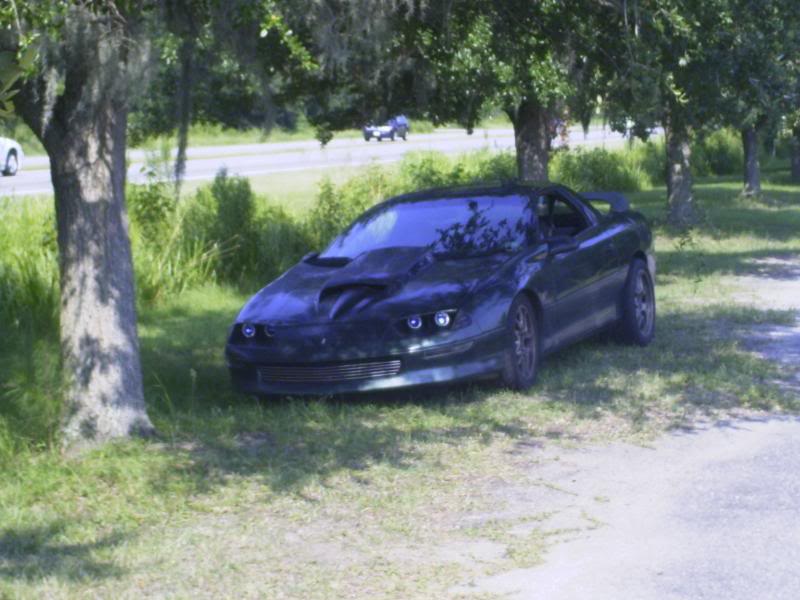
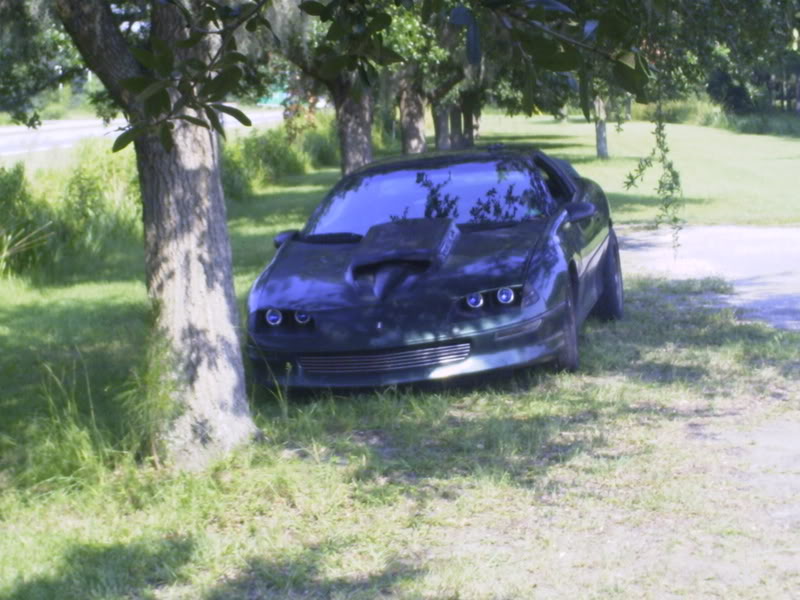
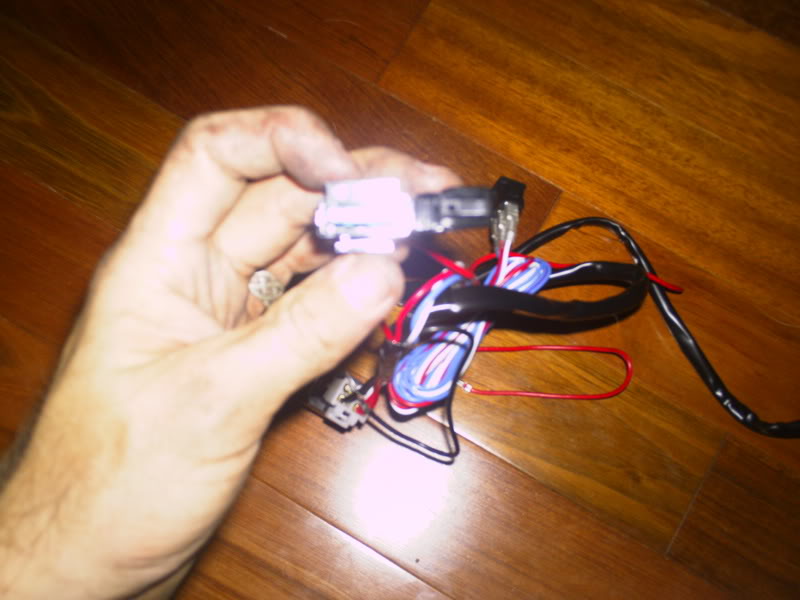
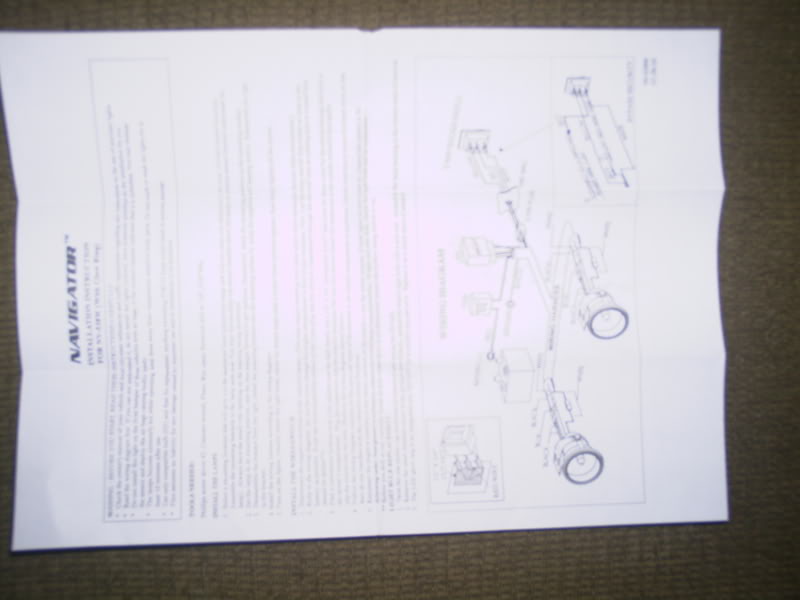
Also, some of you were wondering about the wiring harness that comes with the lights, so I included some pics for that as well:
wiring harness
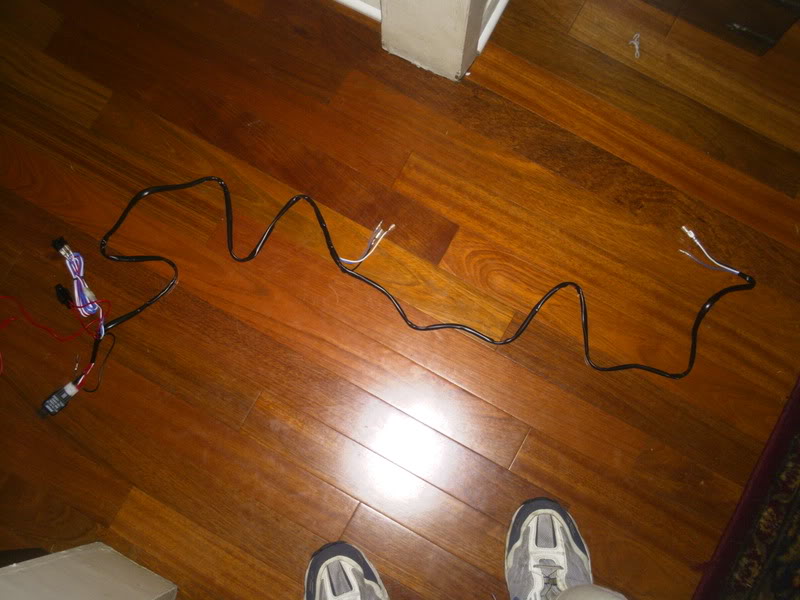
1 light
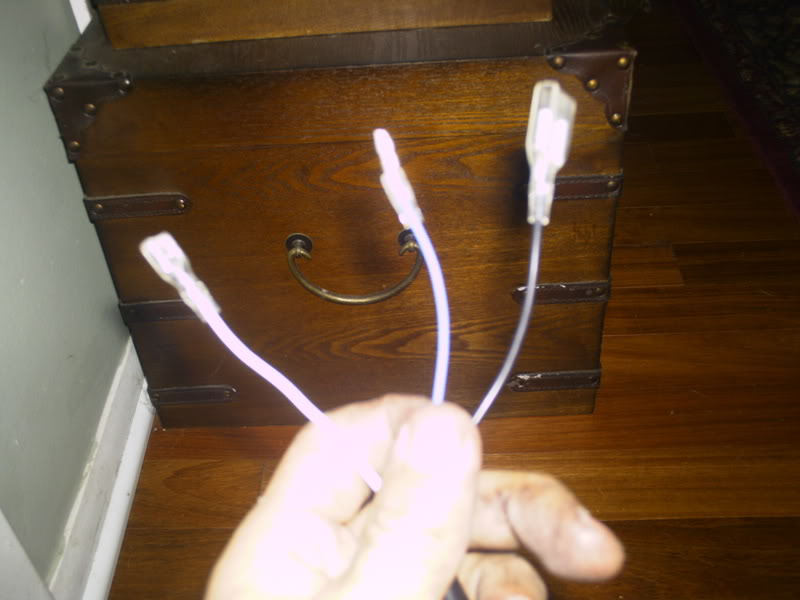
2light
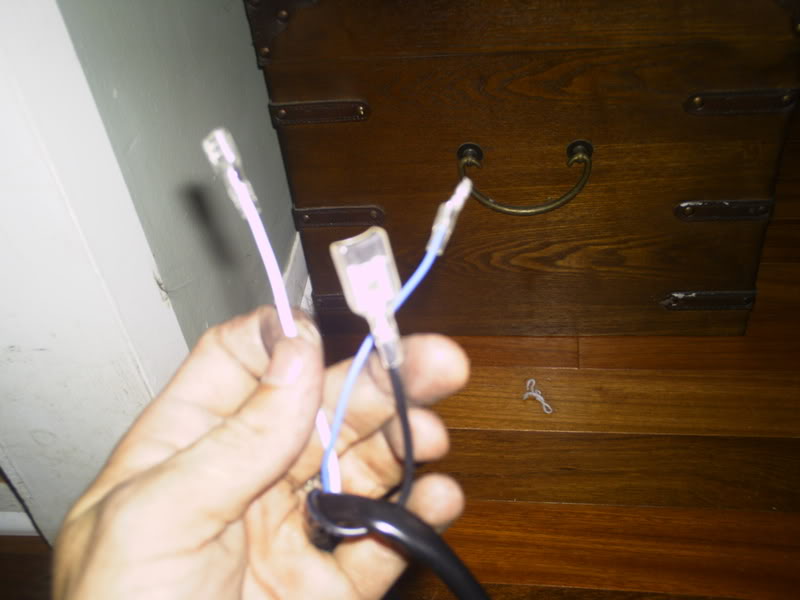
relay
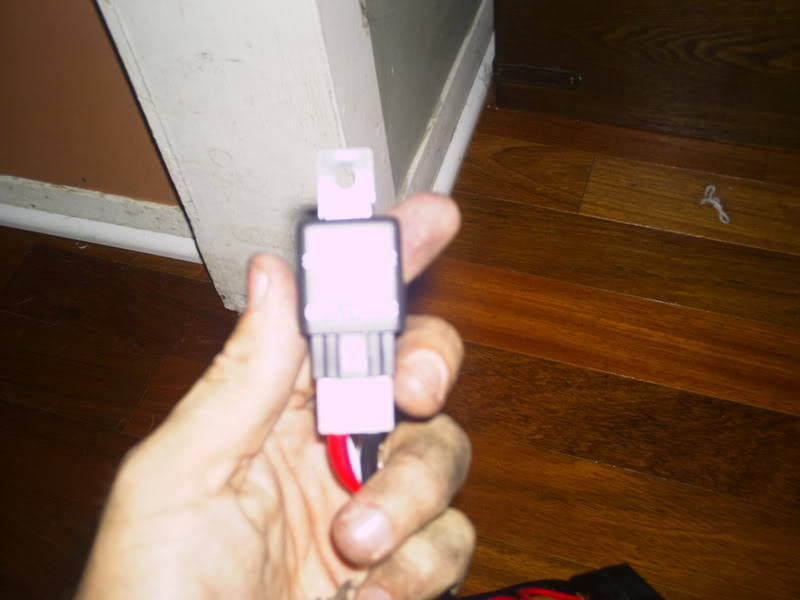
switch

fuse
diagram
-2 sets of angel eye driving lights http://www.brandsport.com/pilt-nv538w.html


-screwdriver, star key tool (for removing the old lights), needle nose pliers, power drill (to drill mounting holes), wire stripper (I used my pocket knife), electrical tape or shrink wrap, super glue
1. Removing the old lights
-Disconnect the negative battery terminal on your battery so you don't mess anything up on accident.
-Take out old headlights and brights. To do this, remove the spring on the bottom and unscrew the top adjusting screw. The old headlight fixtures will come out in one piece if you do it this way.


Spring location


-CUT the wires to the lights with wire cutters, as the harnesses will not be used.

Mounting the brackets
-Once all the old lights have been removed, it's time to mount the brackets for the new lights
-Line up the bracket, and the screw in the proper hole (inside lights = front hole, outside lights = middle hole)
-On the inner lights, use the farthest forward mounting hole on the bracket and mount the screw in as far back as you can and still be structurally sound. (I had to remove the plastic plug that the stock headlight adjustment screw mounted to in order to make enough room for the headlight itself) On the outer lights, use the middle hole to mount the bracket with still going back a good bit.

-Screw in each screw with the bracket in place. We are only using one screw for each bracket for adjustment purposes. If you want, you can use the sticky pads IN ADDITION to the screws, but the pads themselves are not enough to hold the lights in position. Also, if you use the sticky pads, you will not be able to adjust the bracket side-to-side later when you set the placement of the lights. You will superglue them later.
3. Mounting the lights.
-Mount the lights as low as possible in the brackets. This is pretty self explanatory.
4. Wiring
-Splice the wires into the new headlight wires

-Ops check/fitment check


-halo wiring v1
Since im running without regular fog lights, I spliced into the factory foglight harness. Being that there are 2 halos per side and only 1 foglight wire, you need to splice them 2-into-1

-halo wiring v2
You can run the halo’s off of the cigarette lighter if you so choose like in the pic below:

Also…. after doing some searching I found that Shbox.com has a writeup for accessory wiring for those who want to wire their halos inside the car which would allow you to run a manual switch in place of the ashtray or wherever else you decide to place it. This would require the use of the switch that came with the lights.
http://shbox.com/accy/Accessory.html - link to shbox’s wiring
switch that came with wiring:

5. Light adjustment
-The reason we only put one screw per bracket is to adjust the lights. So wait till night to do this step.
-The lights are very bright, so adjust the headlights so they point straight forward, but down about 20-30 degrees. This is so that you won’t blind any other traffic with your normal headlights, making it so that you won’t get pulled over.
-Adjust the brights so that they point straight forward and have no angle to them.
-Once the headlights are adjusted to your liking, put some super glue around the base of the brackets and between the light fixture and the brackets. This will make it so that they can't be bumped out of place.
Now you should be done. I will be adding more to this as I am working on a surround that goes around the lights and blocks behind it so you don’t see a mess of wires or anything… just the lights.
And heres some other pics for reference and final product:

old

new


Also, some of you were wondering about the wiring harness that comes with the lights, so I included some pics for that as well:
wiring harness

1 light

2light

relay

switch

fuse

diagram

#8
#14


 and this should be moved to Tuturials, again looks good and great writeup
